Link To Pangu
Because this is a Windows-only jailbreak, you’ll need a PC, or a Mac with either Bootcamp or a virtual machine running Windows to jailbreak your device.
Another thing we need to note before getting started is that this jailbreak only supports 64-bit iOS devices, so the iPhone 5 is officially out of support. It’s unknown if this will change in the future, but the list of supported devices currently are:
- iPhone 5s, iPhone 6, iPhone 6 Plus, iPhone 6s, iPhone 6s Plus, iPhone SE
- iPod touch 6G
- iPad mini 2, iPad mini 3, iPad mini 4, iPad Air, iPad Air 2, iPad Pro
Jailbreaking with Pangu
If you have one of the supported devices, have access to a Windows machine, and want to jailbreak your iOS device, then you’re going to want to follow these steps:1) Update your iOS device to iOS 9.3.3. This is the latest jailbreakable firmware and this means you’re going to want to install it because it has all of the latest bug fixes and security features.
2) Make sure to turn off Find My iPhone and to disable your passcode on the device you’re jailbreaking, then plug it into your computer with the Lightning cable.
3) Make sure the computer has iTunes installed on it before proceeding; you can download it here. If you haven’t already, be sure to trust your computer from your iOS device and trust your iOS device from iTunes.
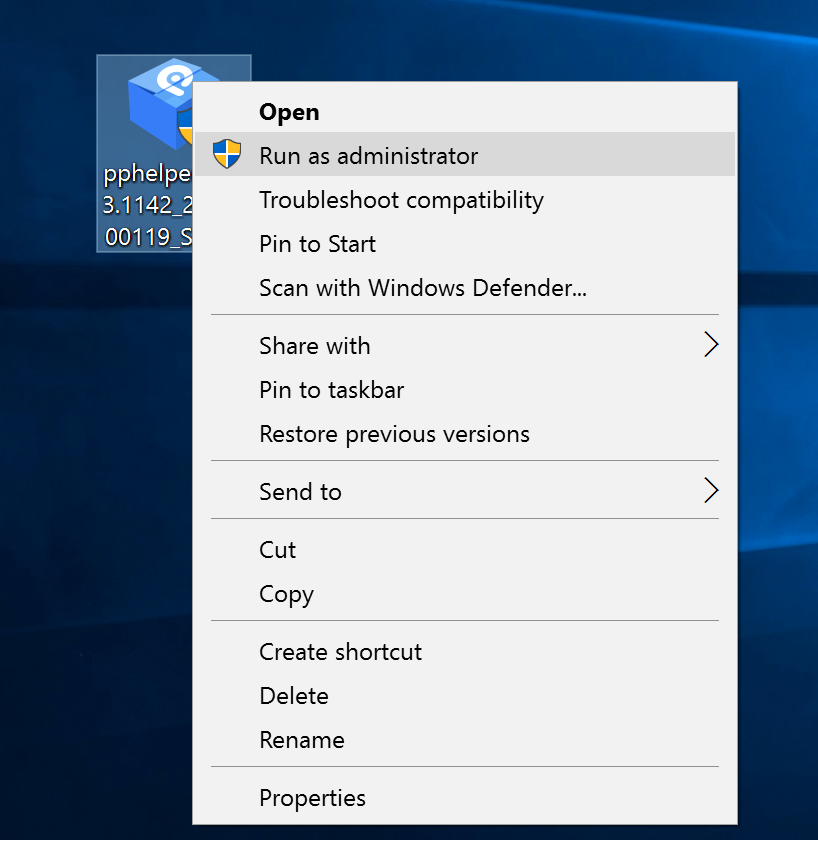
4)Download PP/Pangu jailbreak tool installer for Windows.
5) Right-click on it and click Run As Administrator.
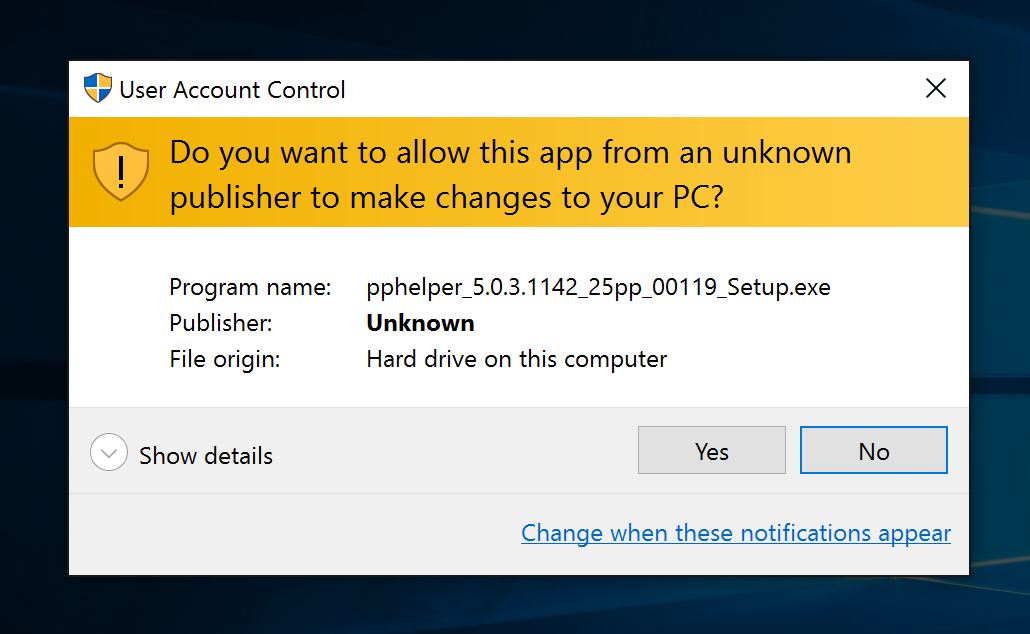
6) Windows will ask you to trust the publisher. Click on the Yes button.
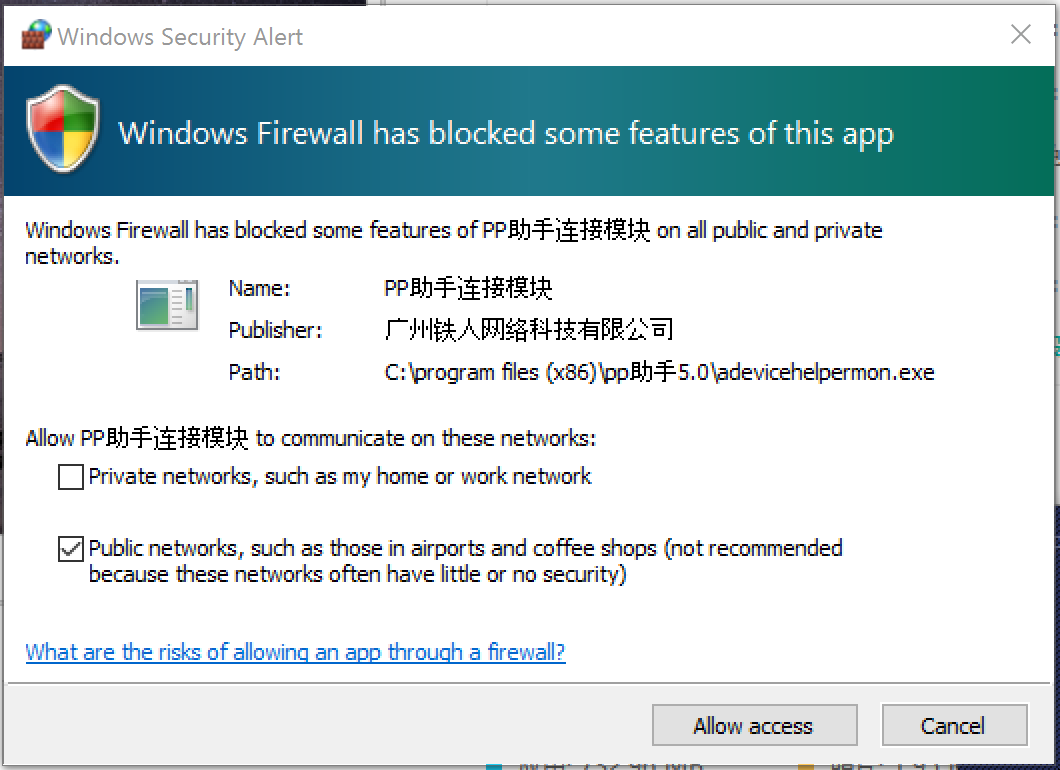
7) Windows may also ask you to trust the app for Windows Firewall, so go ahead and Trust the connections.
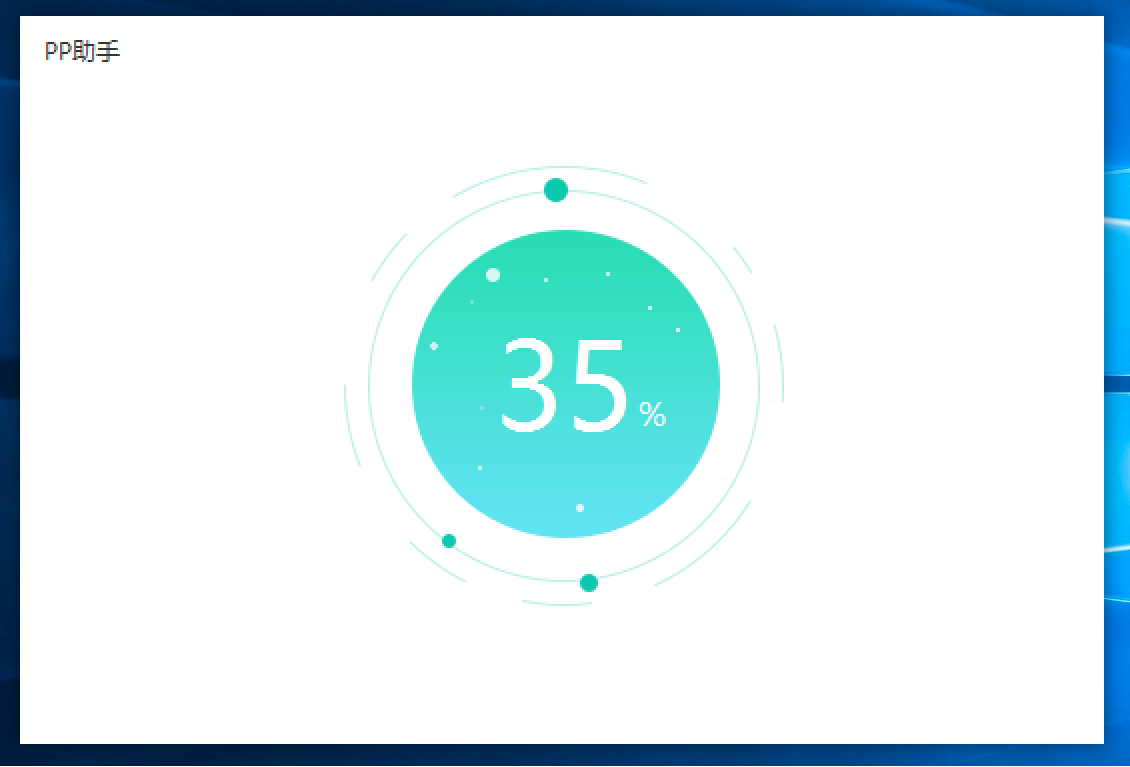
8) When the tool launches, click on the only button in the UI and it’ll start downloading and installing the actual jailbreak tool.
9) When finished, you’ll notice a new app with the PP icon on it:

10) Right-click it and choose Run As Administrator once again.
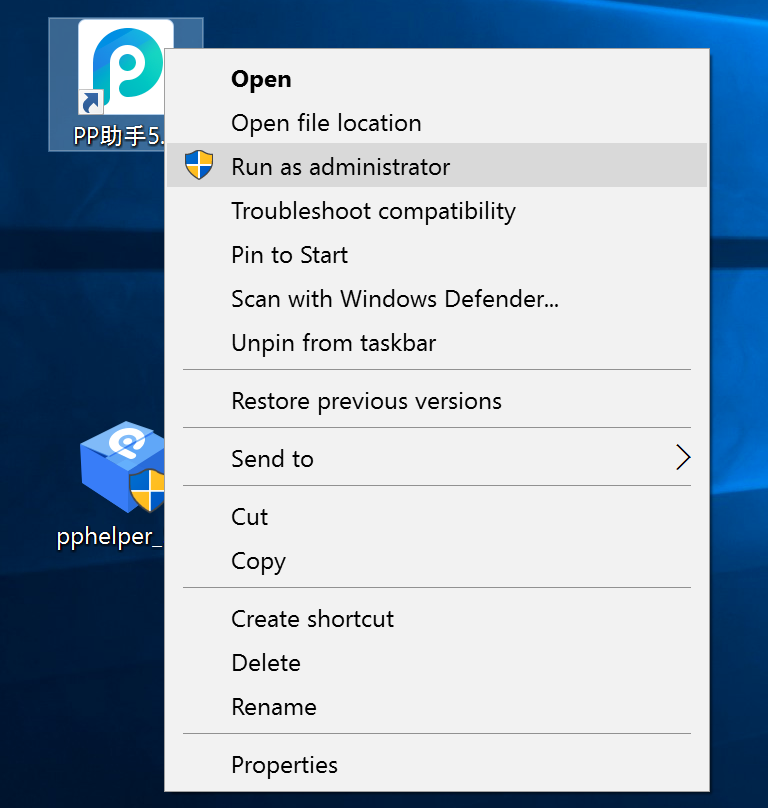
11) Next, click on the Yes button when asked if the app can run on your PC.
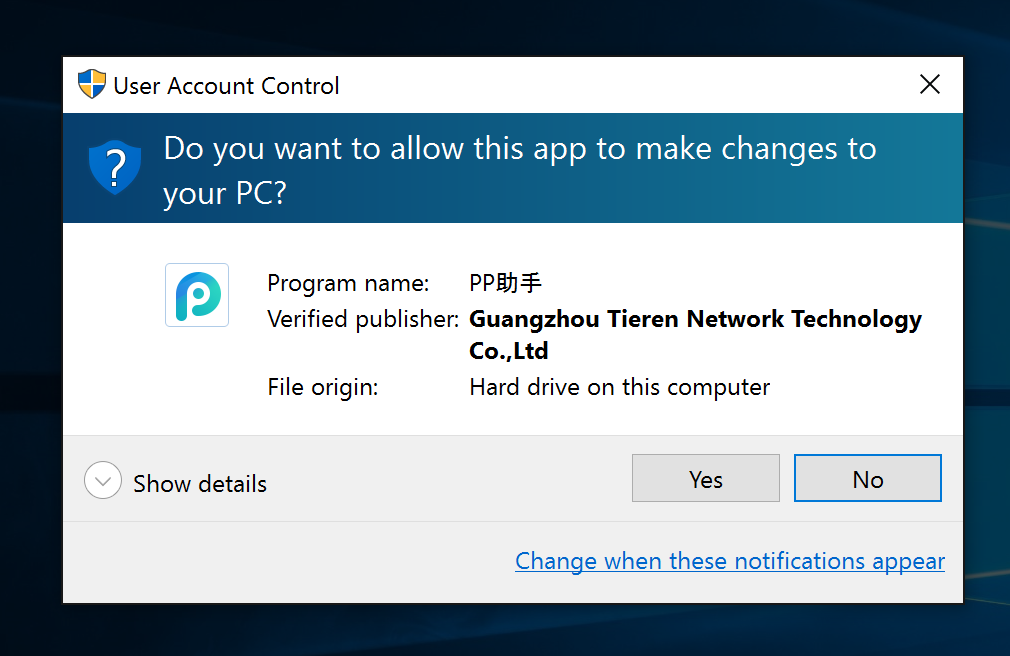
12) The jailbreak tool interface will open and attempt to discover any connected devices.
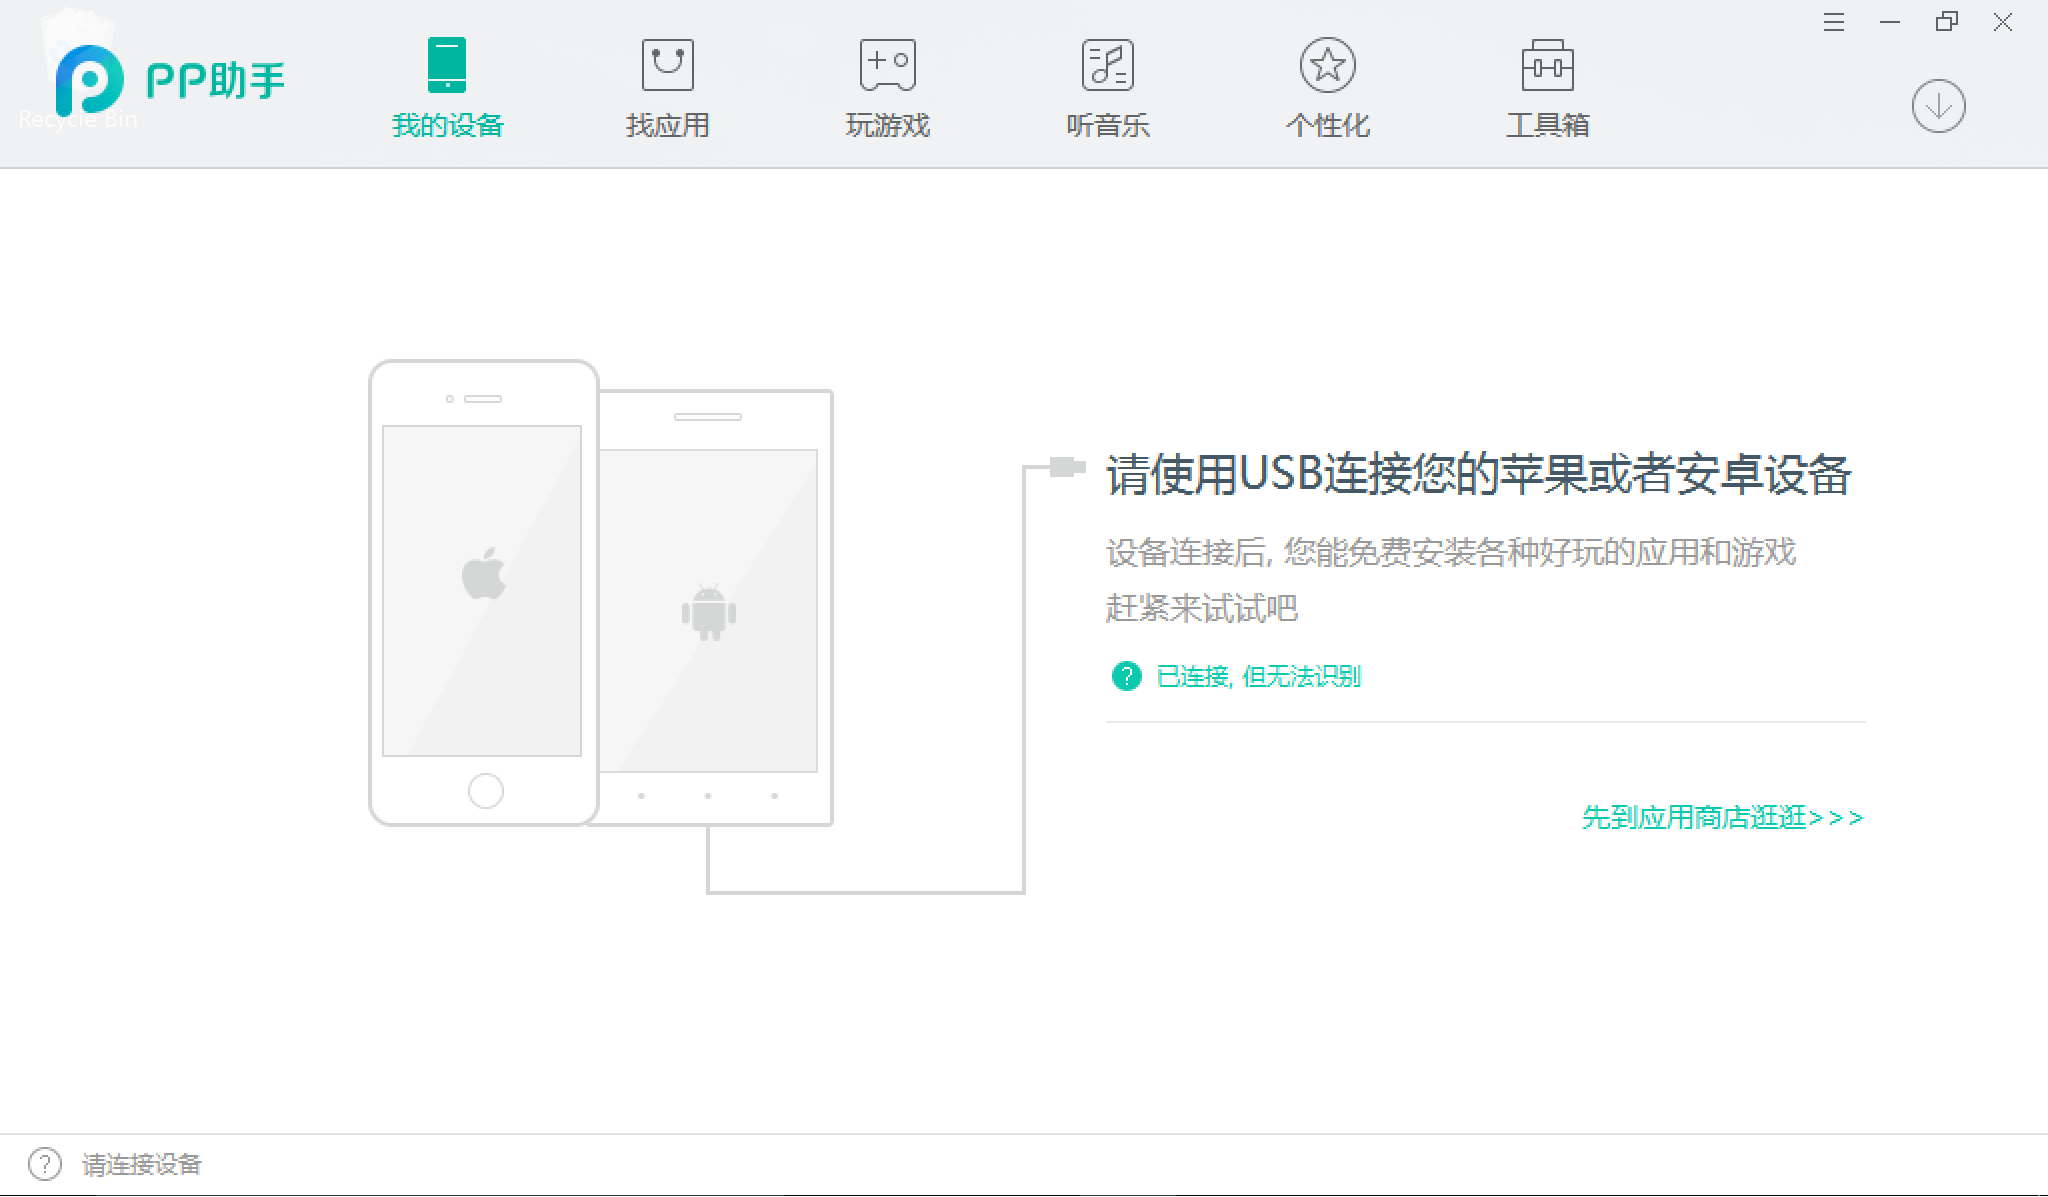
13) Once your device is discovered, click on the green button to proceed.

14) The green button will begin to display a loading circle to indicate it’s busy.

15) After a few minutes, you will be asked for your Apple ID. Proceed at your own risk and log in, or do what we did and create a phony Apple ID to log in with. When your information is entered, click on the green button to log in.
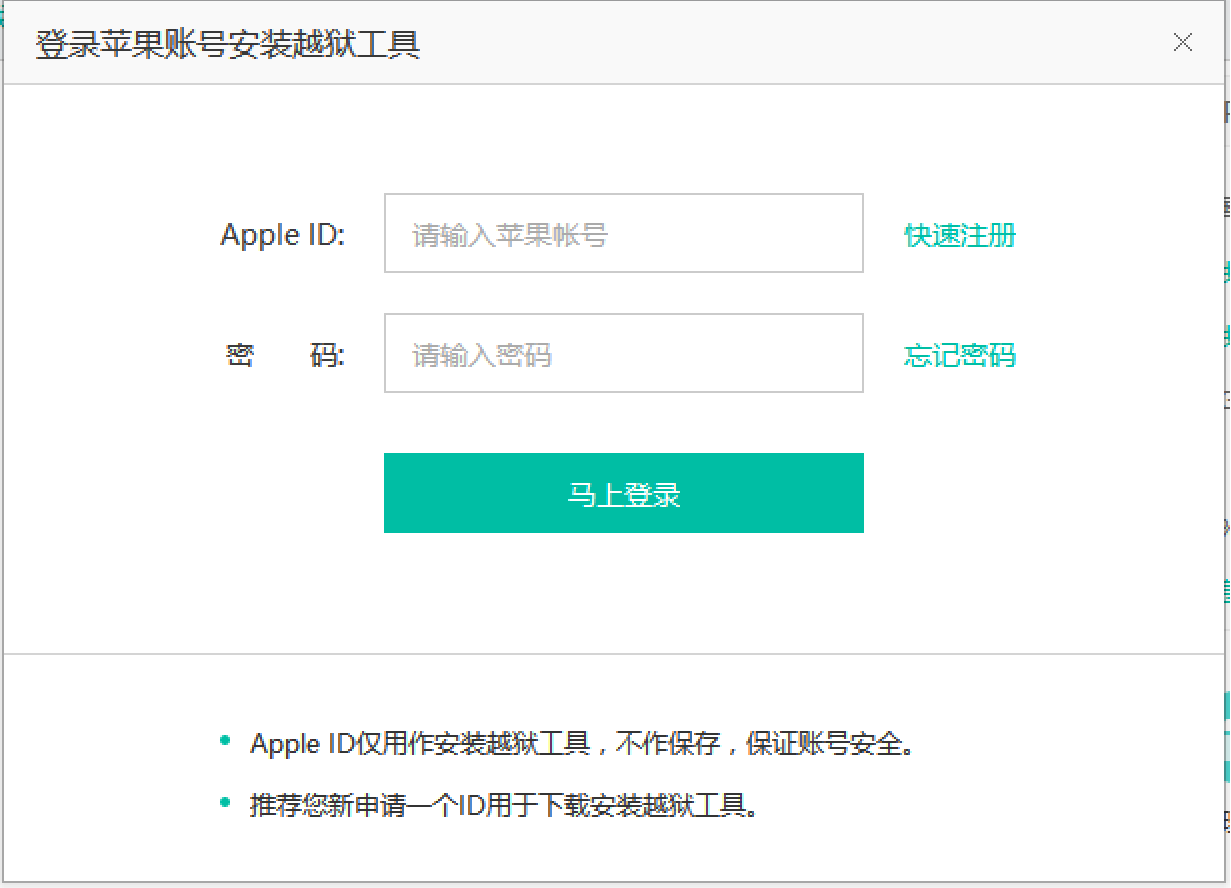
16) Now wait a few minutes longer and a Pangu/PP app appears on your iOS device’s Home screen:
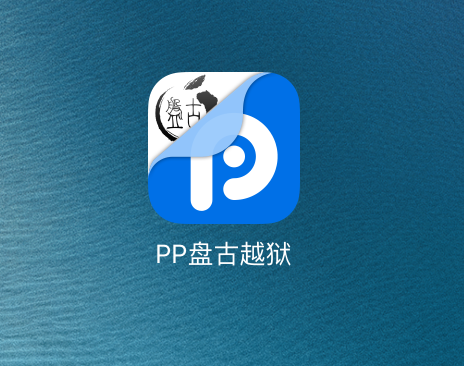
17) You now want to go to your Settings app (not the Pangu/PP app), and navigate to General > Device Management.
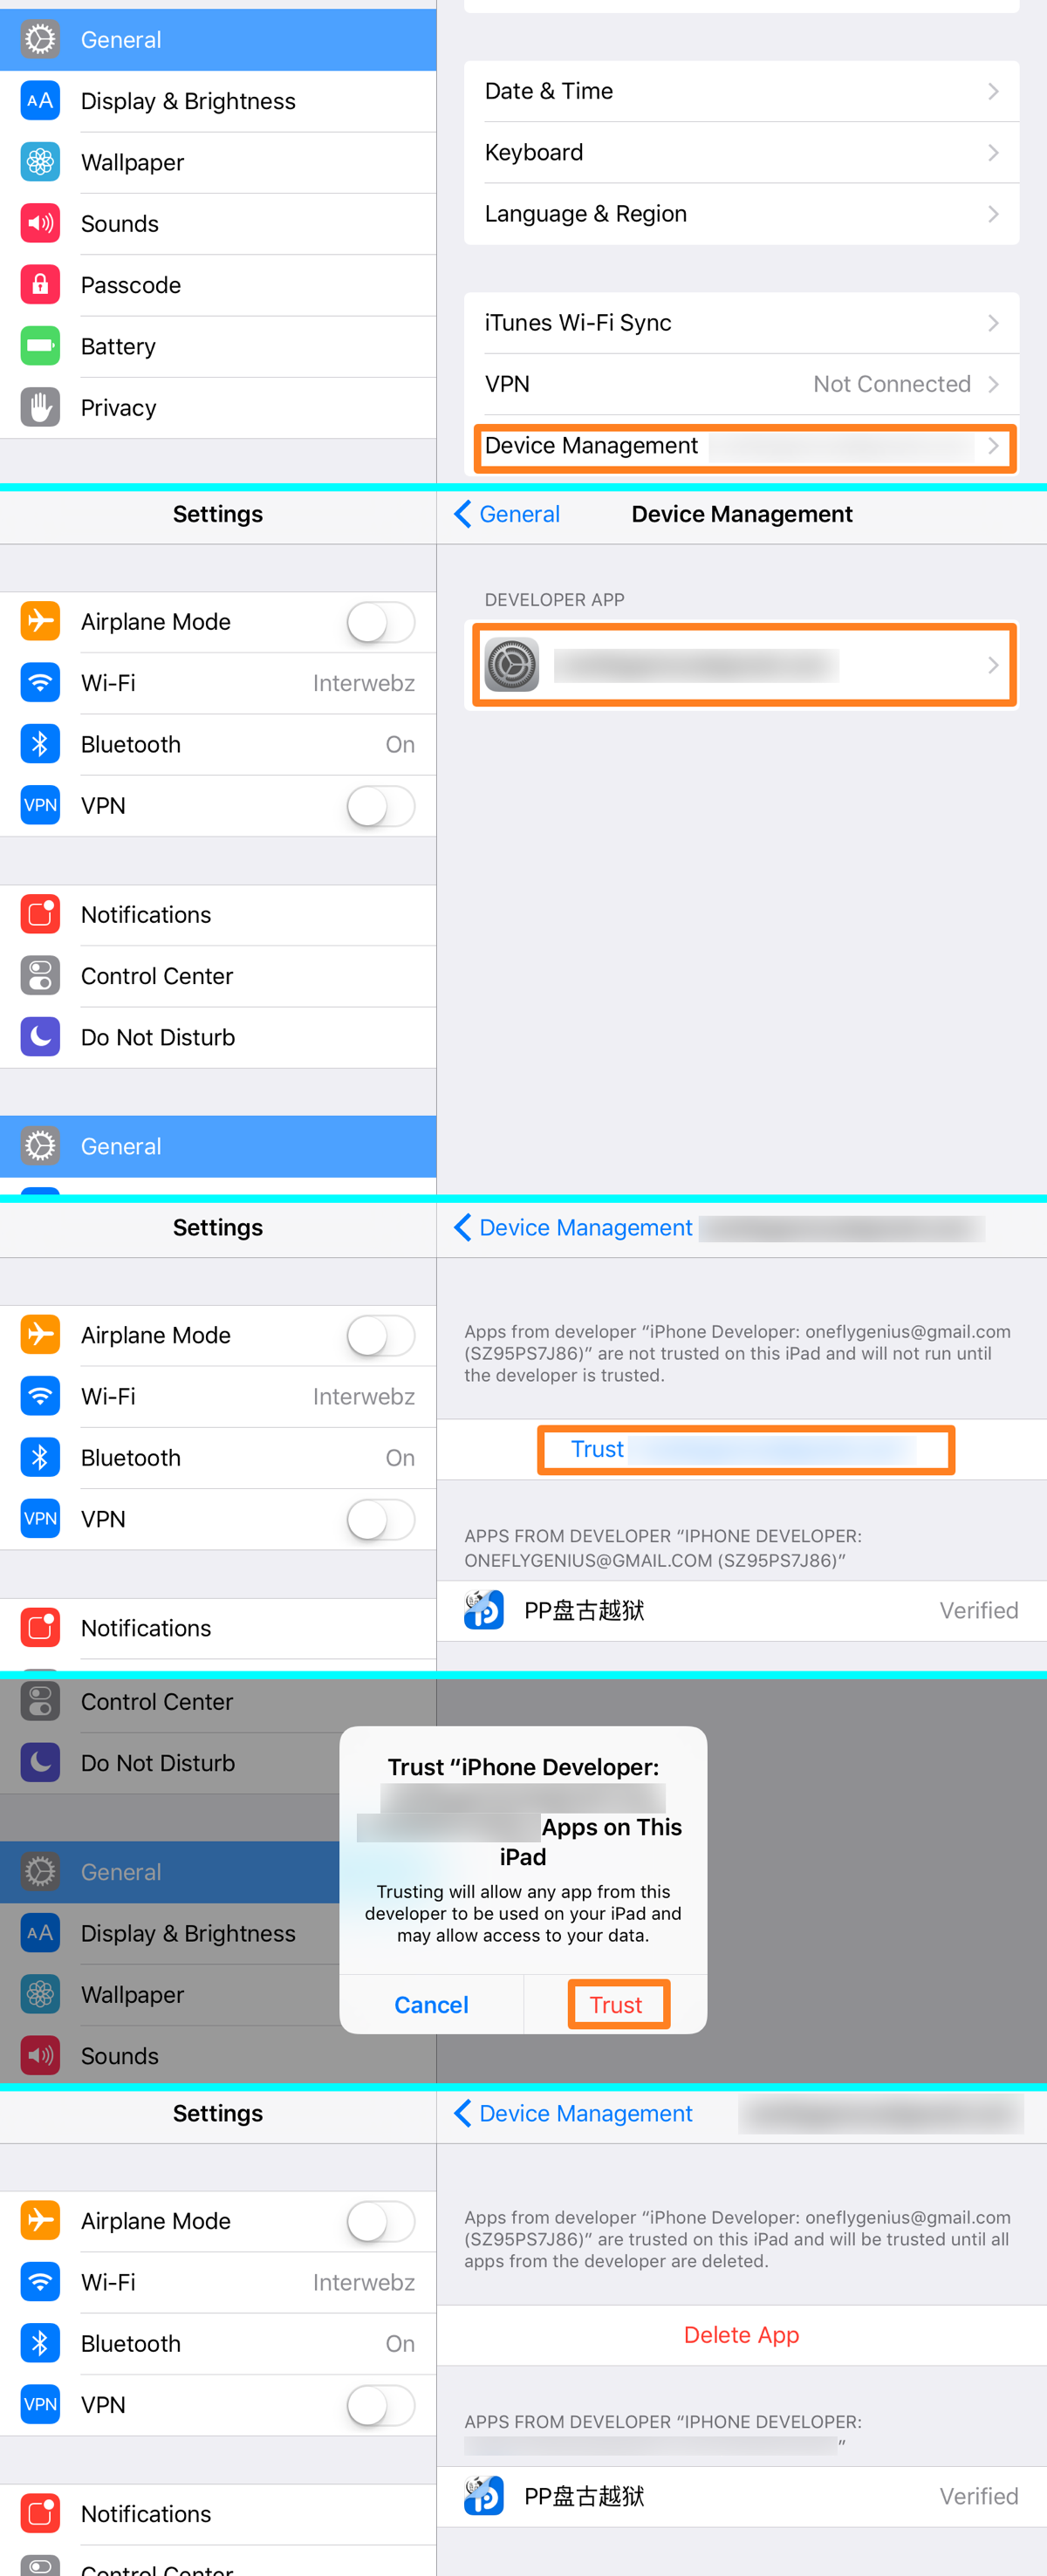
18) Tap on the profile that appears here, and then tap on the blue Trust button that appears with your email address.
19) In the pop-up prompt, tap on the red Trust button, and then go to your Home screen after you’ve successfully trusted the profile.
20) Next, you want to launch the Pangu/PP app that was on your Home screen. You will be prompted to allow push notifications. Make sure to allow them by tapping on the OK button.
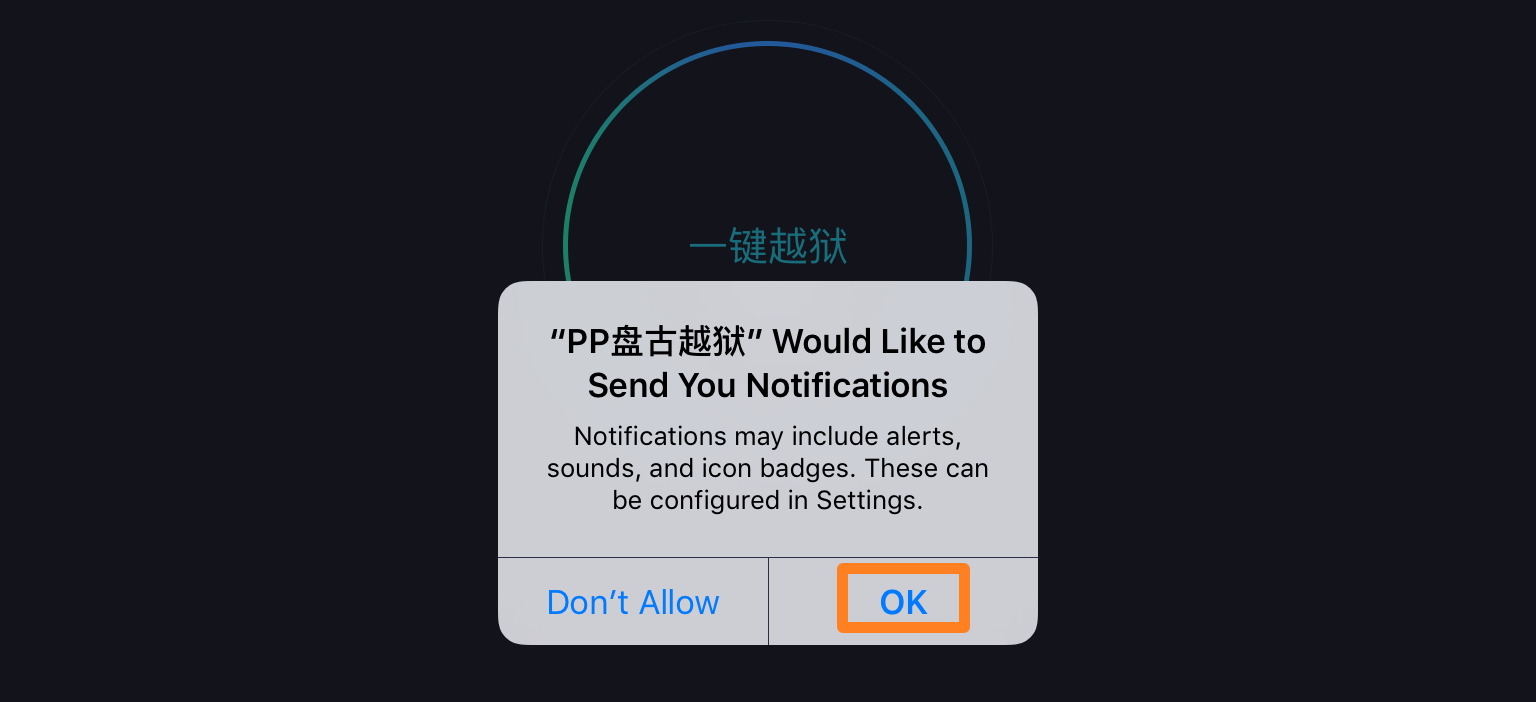
21) Next, tap on the circle in the app, and then it will turn into a line of text.

22) Now, lock your device by pressing your sleep button once. After a few moments, you should see a notification appear:

23) After a few seconds, you should also see a prompt for your device’s storage getting full. This is normal, and indicates Cydia is being installed. You can unlock your device and re-launch the Pangu/PP app and you should see it trying to install Cydia.

24) Your device should automatically reboot itself a few moments after, and when it turns back on, you should see Cydia on your Home screen:
25) Launch Cydia, and it will re-load data and prepare the filesystem as it typically always does when you jailbreak your device.
Congratulations on your now-jailbroken iOS 9.3.5 device!
Komentarų nėra:
Rašyti komentarą